VFX LEARNINGS – Bryan Riley 2022
Course Overview
In VFX for Motion you will learn a broad set of Visual Effects tools and techniques using After Effects. Prepare to add keying, roto, tracking, matchmoving and more to your creative toolkit. By the end of this course, you’ll have the practical knowledge of working with live-action footage, and you’ll even get some tips on how to direct and work on a VFX shoot.
Key Learnings
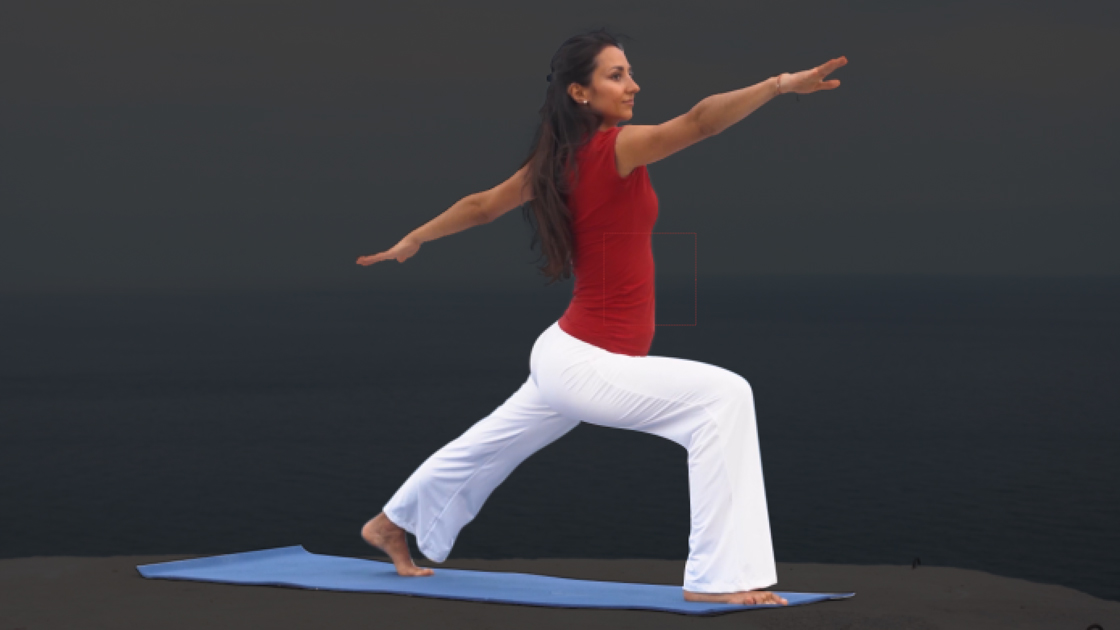
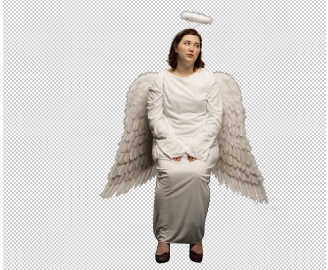
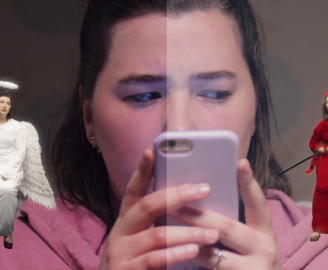
Rotoscoping
Rotoscoping is used to create a matte or mask for an element, so it can be extracted out to place on a different background.
Techniques learned
- Using Mocha to track movement of a subject, then utilising the mattes to create masks of individual sections.
- Rotobrush tool and edge refinement for sections that contain detail such as hair.
- “Brute force” roto, which is basically masking out frame-by-frame, usually used as a last resort.


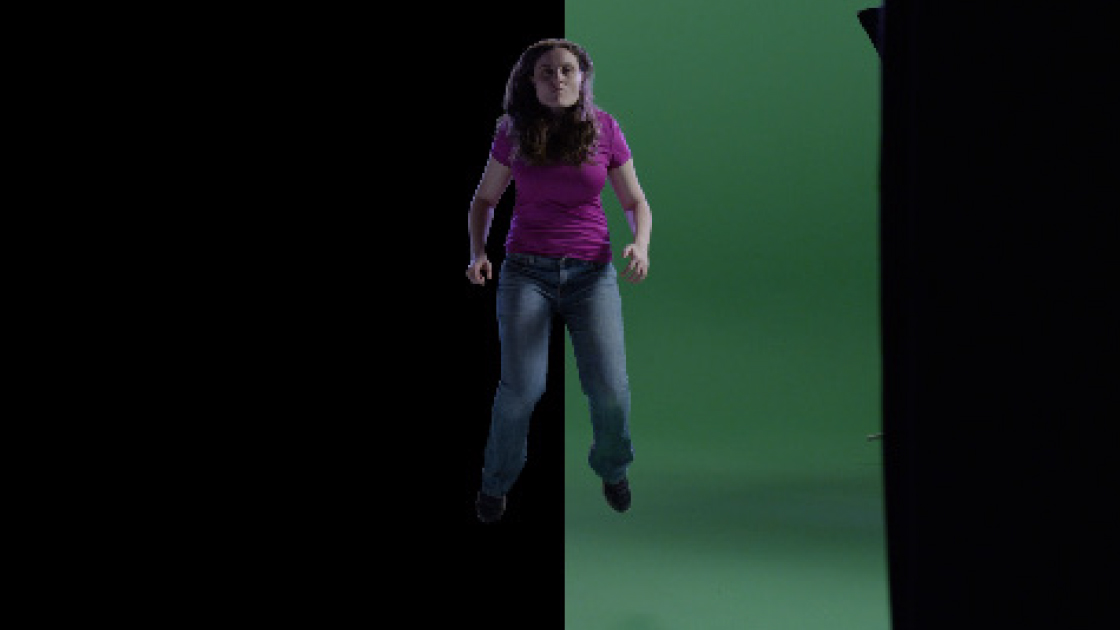
Keying
Keying is defining transparency by a particular colour value or luminance value in an image. Mostly used for green/blue screens.
Techniques learned
- Using tracked “garbage” or “holdout” mattes to refine the key to a particular area around the keyed subject.
- Utilising the “status” view within keylight to ensure the best colour is picked for the key.
- Combining the use of a core matte and refining with an edge matte to get the best detail possible.
- Using AE’s “extract” effect to remove high contrast areas of a shot (e.g sky, etc).
- Using rotoscoping techniques in areas where keying doesn’t provide the best outcome.


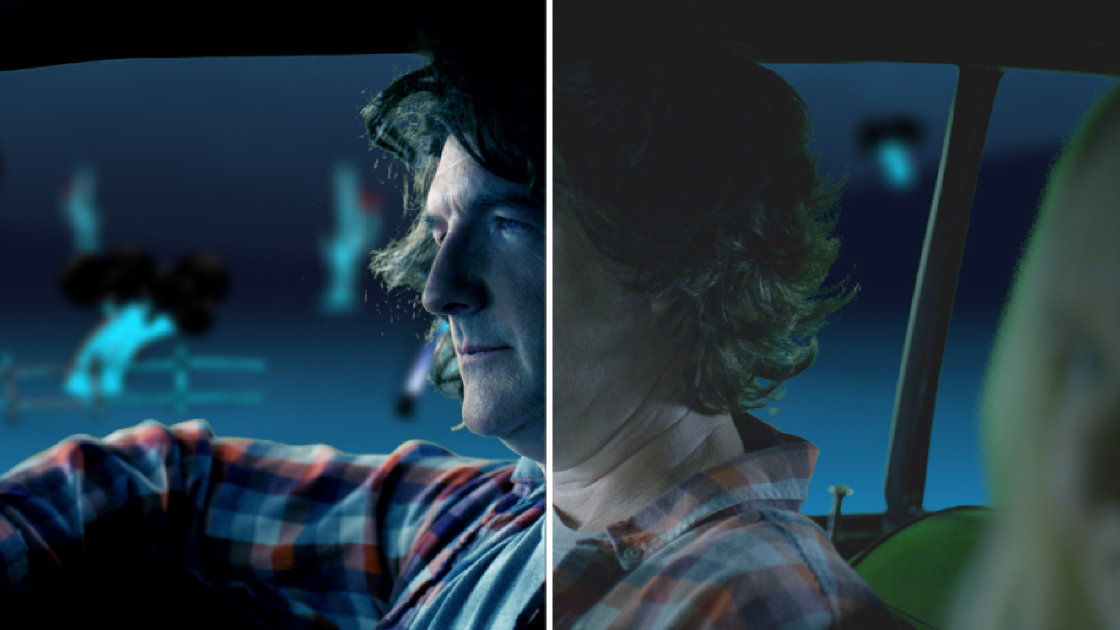
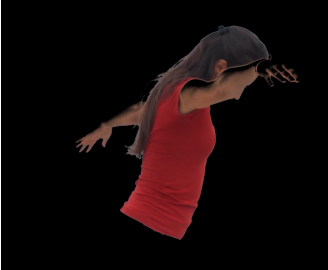
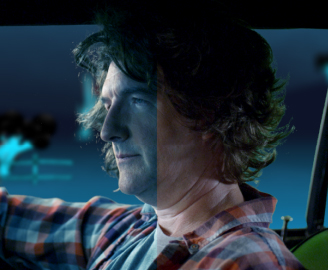
Motion Tracking
Motion tracking is a technique that allows the insertion of assets into live action footage relative to the objects in the shot.
Techniques learned
- Precise tracking of planar surfaces (phone screens, etc) and dealing with motion blur and occlusions using Mocha AE.
- Using Mocha AE “Adjust track” feature to correct any drift in tracked surfaces.
- Using AE’s built in motion tracker to create a simulated 3D scene within a shot and adding in 3D rendered objects from Cinema4D.
- How to deal with lens distortion.
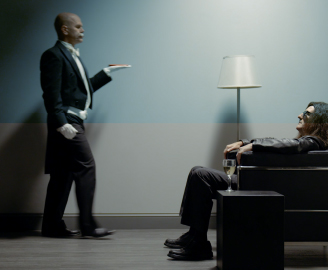
Colour Correction
Manipulation of the saturation, luminance and balance of the RGB values. Mainly using curves and levels.
Techniques learned
- Adjusting RGB values with levels and curves to colour match values within a scene
- Using lumetri scopes to colour correct shots
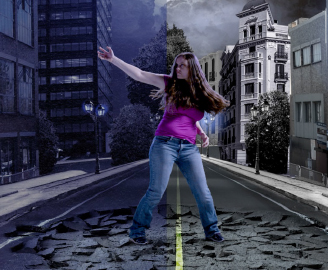
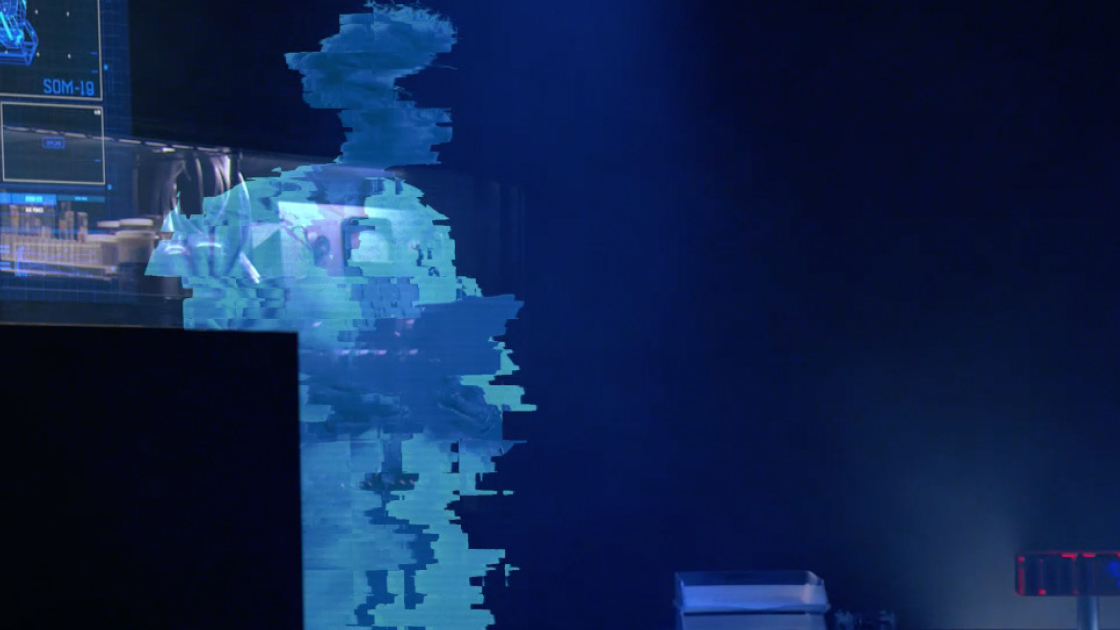
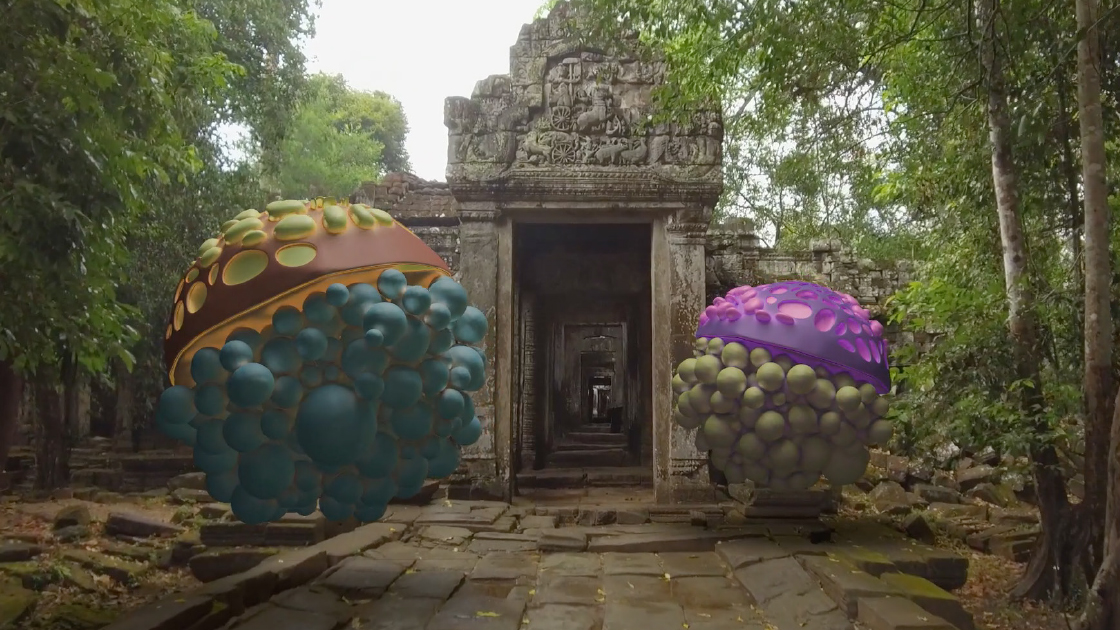
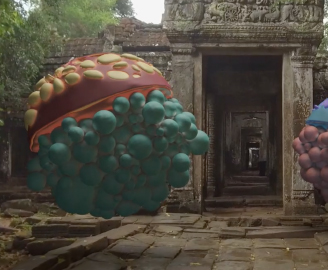
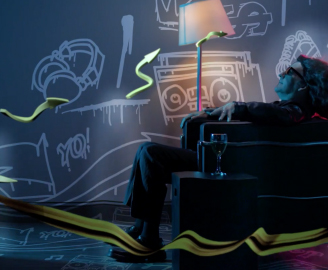
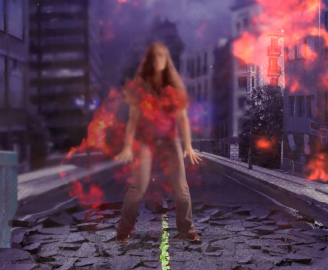
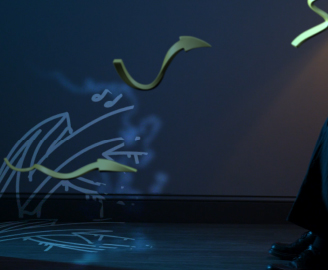
Custom Effects
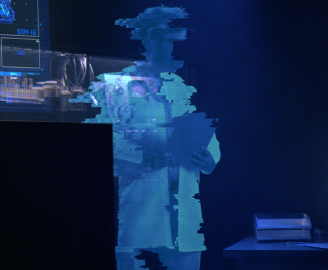
We had the chance to create our own effects with AE’s built in tools. Some examples of effects include holograms, computer UI’s, sound shockwaves and heat distortion.
Techniques learned
- Applying displacement maps to layers to create distortion (e.g glitches or heat distortion).
- Using speed ramps and camera shake to enhance impact.
- How to create smoke and fog.
- Compositing realistic effects from libraries such as ActionVFX and using blending modes to fit them into a scene.
- Using “EXtractoR” to remap channels of an .exr file.
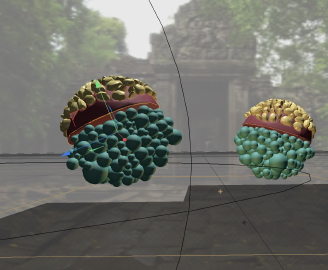
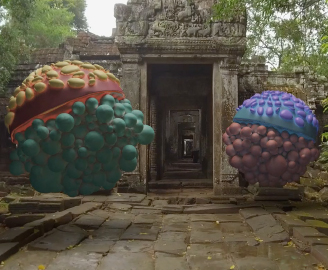
3D Elements
Techniques learned
- Integration of Cinema 4D (.c4d) files into AE using Cineware.
- Importing multi-pass .exr files (output from C4D) into AE as image sequences and editing data such as ambient occlusions, specularity, diffusion and reflections.
- Tracking a shot within AE and using the tracking data for camera setup in C4D.
- How to light elements within a scene in AE.

Examples
Exercises
Lorem ipsum